
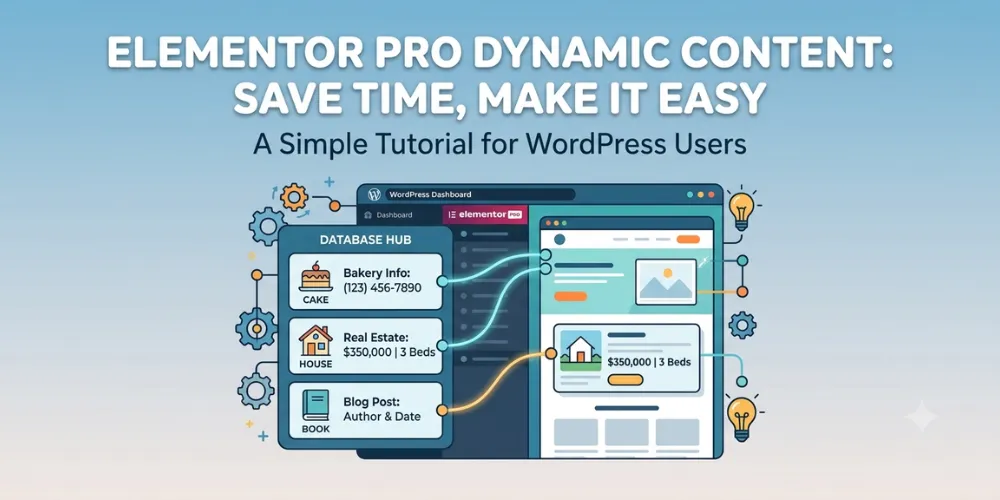

Building a WordPress site can take a lot of time. If you have to type the same information on fifty different pages, you will get tired fast. Imagine updating your phone number or price list on every single page one by one. It is easy to make mistakes, and it wastes hours of your day.
This guide will fix that problem for you. You will learn how to use Elementor Pro dynamic content. Dynamic content lets your website update itself automatically. You type your information into one spot, and WordPress shows it everywhere you want.
By the end of this guide, you will know how to build smart pages that save you time and work automatically. You will be able to make custom blog posts, portfolio pages, and store listings without touching code. Let us get started and make website design easy for you.
Elementor Pro Dynamic Content Tutorial
Dynamic content pulls info straight from your WordPress database. Instead of typing static text, you link widgets to custom fields. This keeps your design clean and your workflow fast.
What Is Dynamic Content and How It Works
Static content stays the same until you change it by hand. Dynamic content changes based on what is stored in your website background. When you write a blog post, your title, date, and author name are all dynamic data. Elementor Pro connects directly to this data.
Think of it like a photo frame. The frame stays the same, but you can swap the photo inside whenever you want. On a WordPress site, your template is the frame, and your dynamic text or image is the photo. When you edit the source data, every page using that template updates at once.
Last year, I helped a local bakery fix their website. They had forty cake pages, and every page had the wrong phone number. They were changing each page one by one. I set up dynamic tags using Elementor Pro in just ten minutes. We tied the phone number to a central site settings field. When the number changed, all forty pages updated instantly. The owner saved five hours of manual labor.
Here are three core parts of dynamic data:
- Dynamic Tags: Small settings inside Elementor widgets that pull data from WordPress.
- Custom Post Types: Special content buckets like Portfolios, Testimonials, or Products.
- Custom Fields: Extra info boxes added to posts, like price, rating, or event date.
Using these tools lets you build professional websites that scale easily.
Setting Up Custom Fields with ACF and Elementor
To get the most out of dynamic content, you need custom fields. A great free tool for this is Advanced Custom Fields, also known as ACF. You can install ACF as a plugin on your WordPress site. It lets you add new information boxes to your posts and pages.
For example, if you review movies, ACF lets you add fields for release date, star rating, and director name. Once you create these fields in ACF, open Elementor Pro and edit your single post template.
Here is how you connect them step by step:
- Add a Heading or Text Editor widget to your canvas.
- Click the small stack icon called Dynamic Tags next to the text box.
- Scroll down to the ACF section and choose your custom field name.
- Click the field name again to set fallback text in case the field is empty.
If you need help setting up plugin templates, read our related guide on WordPress custom post types.
Now, whenever you publish a new movie review, you just fill out the ACF text boxes in the post editor. Elementor Pro automatically pulls that information into your styled layout. You never have to design the page twice.
Building Dynamic Templates for Loop Grids and Archives
Once you understand basic fields, you can build dynamic archives and loop grids. An archive page shows a collection of blog posts or products. A loop grid lets you design a single card layout, and Elementor repeats that card for every post on your site.
In my own design agency work, I used this method for a real estate client. They had over two hundred property listings. Creating single pages for each property took days. By building one dynamic Loop Item template in Elementor Pro, we displayed house photos, prices, and bedroom counts automatically across the entire catalog. It turned a week of work into an hour.
Follow these simple steps to build your own loop:
- Go to Templates in your WordPress dashboard and click Theme Builder.
- Select Loop Item and click Add New.
- Insert an Image widget for the featured image and set its dynamic tag to Post Featured Image.
- Insert a Heading widget and set its dynamic tag to Post Title.
- Save your template and apply it inside a Loop Grid widget on your main page.
For more layout tips, check out our related guide on Elementor theme builder tricks.
Dynamic loops make your site fast and easy to maintain.
Frequently Asked Questions
Here are answers to three common questions people ask when using Elementor Pro to build dynamic content on WordPress websites today.
What is the difference between static and dynamic content in Elementor? Static content is hardcoded and requires manual edits on every page. Dynamic content automatically pulls live data from your WordPress database, so changes reflect instantly across your site.
Do I need extra plugins to use dynamic content in Elementor Pro? Elementor Pro has built-in dynamic tags for basic WordPress data. However, using plugins like ACF or Pods gives you extra custom fields for complex content structures.
Can I use dynamic content to create custom post templates? Yes, Elementor Pro lets you build dynamic templates for single posts, blog archives, header menus, and footers that fill in content automatically based on the page loaded.
Conclusion
Dynamic content changes how you build WordPress websites. By connecting Elementor Pro with dynamic tags and custom fields, you eliminate boring, repetitive work. You can update hundreds of pages from one single location in seconds. This saves you valuable hours and prevents costly mistakes on your site.
Here is my top expert tip: Always set fallback text inside your dynamic tag settings. If a user forgets to fill out a custom field on a post, the fallback text will display instead. This keeps your layout looking clean and prevents blank gaps on your live pages.
Your next step is to open your WordPress dashboard and test a simple dynamic tag today. Add a Dynamic Tag to a single heading widget on a test page. Once you see how fast and simple it is, you will never build static pages again. Get started now and upgrade your website workflow today.