
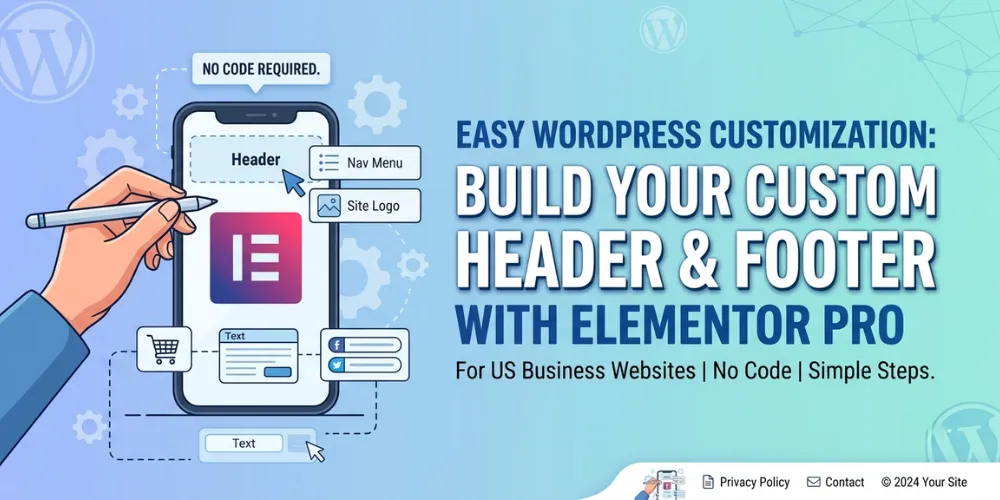

Many people start a website and quickly get stuck. Their website looks just like every other basic site on the internet. The top menu looks plain, and the bottom of the page has boring text. You want your website to stand out and look great. You also want visitors to find your pages easily.
Building a custom website used to cost thousands of dollars. You had to hire a web developer to write complex lines of code. Today, you do not need to know any code at all. You can use a tool named Elementor to change every part of your site.
In this easy guide, you will learn how to build your own custom top menu and bottom footer using WordPress. You will save money, make your site look clean, and give your readers a great experience. Let us jump right in and build your site today.
Elementor Theme Builder Custom Header Footer Tutorial
Elementor Theme Builder lets you design unique top menus and bottom footers for your WordPress website. You can control how your whole site looks without touching any code.
Set Up Elementor Pro on Your Site
To build a custom header or footer, you need WordPress and Elementor Pro. The free version of Elementor lets you build regular pages. But you need the Pro version to change header and footer layouts.
First, log into your WordPress dashboard. Click on Plugins, then click Add New. Upload your Elementor Pro file and click Install Now. Next, click Activate Plugin. You will see a new menu item on the left sidebar named Theme Builder.
I built my first WordPress site back in 2018 for a local coffee shop. The owner wanted her phone number at the top of every page. The basic theme could not do that. Installing Elementor Pro took five minutes and let me put her phone number right where customers could see it.
Here is a quick checklist before you start:
- Make sure your WordPress software is up to date.
- Install both Elementor and Elementor Pro plugins.
- Connect your Elementor account license.
Once your plugin is ready, you are set to build your design. This simple step sets up your site for full custom design control across every page.
Create a Custom Header
Now you can make your custom header. Click on Theme Builder in your WordPress dashboard. Click the Header tab, then click Add New Header.
Elementor will show you pre-made templates. You can pick one or start with a blank page. A standard header usually has three main parts:
- Your business logo on the left.
- Your navigation menu in the middle.
- An action button or search bar on the right.
Drag a container block onto your page. Split it into three columns. Drag the Site Logo widget into the first column. Drag the Nav Menu widget into the middle column. Drag a Button widget into the last column.
You can change colors, fonts, and spacing with a few clicks. Make sure your menu text is large and easy to read on mobile phones. When you finish, click the green Publish button. Elementor will ask where you want to show this header. Choose Entire Site so it shows everywhere.
You can also read our related guide on how to make a mobile menu in WordPress for extra tips on small screens.
Design a Professional Footer
Your website footer is the area at the very bottom of your page. People look here when they want extra help, copyright information, or link lists.
To start, go back to Theme Builder and click Footer. Click Add New Footer to open the editor canvas. A great footer keeps your site neat and helpful.
Here are four key things every good footer should include:
- Quick links to your main privacy policy and contact pages.
- Your business logo and a short description.
- Social media icons so visitors can follow you.
- Copyright text with the current year.
In a recent project for a handyman business, we noticed visitors left the site fast from the bottom of pages. We added a quick contact form in the footer. That single change got the business ten new call leads every week.
Drag a new container with three or four columns. Place your links, social icons, and copyright text into the columns. Adjust the background color so it stands out from your main content. Click Publish and set the display rule to Entire Site.
You can check out our related guide on choosing theme colors to pick the best dark shade for your footer.
Frequently Asked Questions
Here are quick answers to common questions about using Elementor to create headers and footers on your WordPress website.
Can I make a header for just one page?
Yes, you can set display rules in Elementor. Choose singular pages or specific post categories when you save your custom header design.
Do I need to write code to use Elementor?
No, you do not need to write any code. Elementor uses simple drag and drop blocks so anyone can design pages easily.
Will custom headers slow down my website?
Not if you keep them simple. Use small image files for your logo and avoid heavy animations inside your header layout.
Conclusion
Building a custom header and footer gives your WordPress site a clean and professional look. You do not need to pay an expensive developer or learn hard coding skills. By using Elementor Theme Builder, you can take full control of your website design in just a few steps.
Remember to test your new header and footer on mobile phones and desktop computers. Your top menu should be clear, and your bottom links should help visitors find what they need quickly.
Here is my final expert tip: always keep your top navigation simple. Limit your main menu to five or six links so visitors do not get confused.
Your next step is to log into your WordPress dashboard, open Elementor Theme Builder, and build your first custom header today!