
Moving your website to a new host can feel scary. Many site owners worry about losing their files or taking their site offline. If your site breaks, you lose traffic and money. High hosting bills and slow loading speeds make things worse.
You do not need to pay a pro to move your site. You can do it yourself for free, without losing any data or going offline.
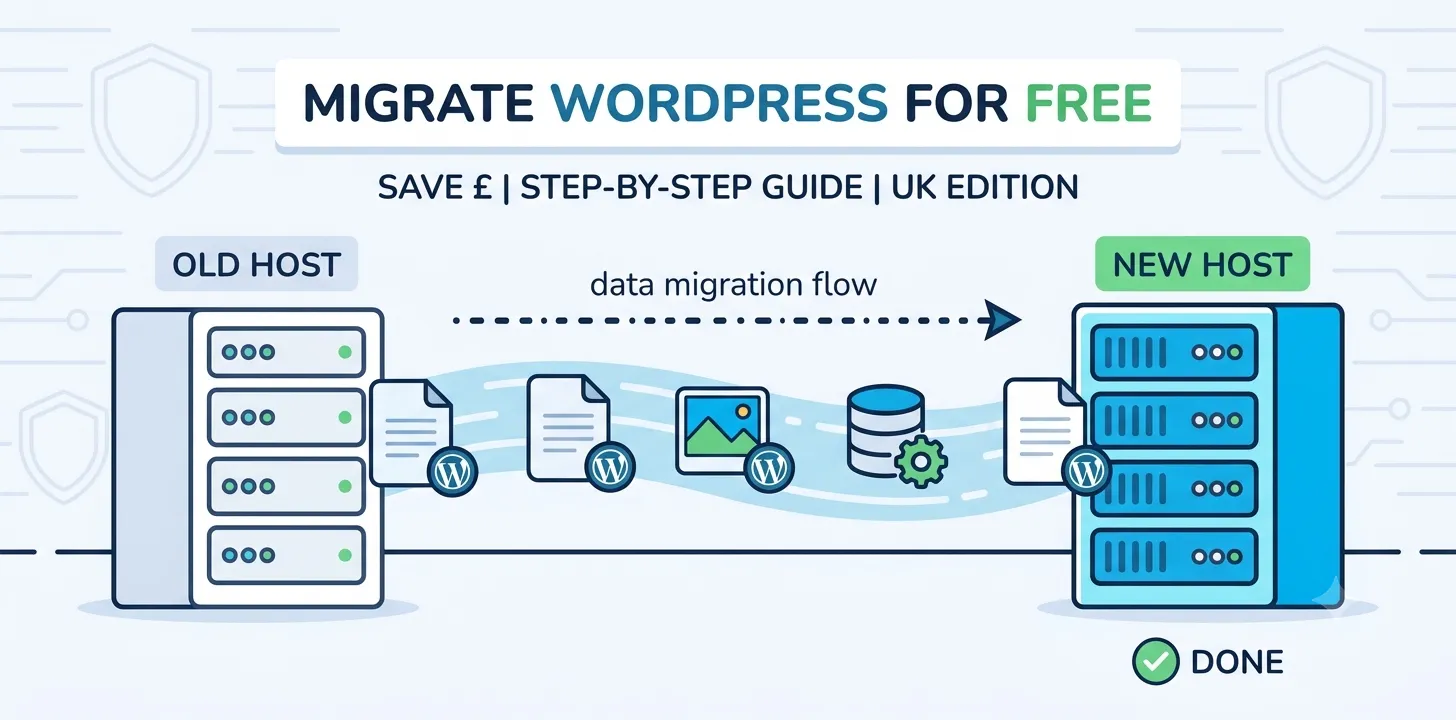
This guide will show you how to transfer your site step by step. We will cover the best free plugins, how to update your settings, and how to check your site when you finish. By the end of this guide, you will have a faster site running on a better host, all without spending a single pound.
How to migrate WordPress site to a new host for free
Moving your site is simple when you use the right tools. Follow these clear steps to move all your files and database safely to your new host for free.
Pick a free migration plugin
First, you need a plugin to copy your site. Log into your site control panel and go to Plugins, then click Add New. Search for a free migration tool like All-in-One WP Migration or Duplicator. These tools zip up all your posts, pictures, and themes into one file.
I used All-in-One WP Migration last year when moving a local bakery site to a faster UK server. The site had over 500 product photos, but the tool packed everything into one simple file in less than five minutes. It saved hours of manual work and prevented missing files.
After you install your chosen plugin, click Activate. Look for the plugin menu on your left dashboard sidebar. Click Export and choose to save the file to your computer. Wait for the download to finish completely before you move on. Do not close your browser tab while the file downloads.
If your file is very large, some free plugins may have a size limit. You can lower your file size before exporting by deleting old post drafts, spam comments, and unused plugins. (If you want to clean up your site first, check out our related guide on clearing WordPress bloat.)
Set up WordPress on your new host
Now you must set up your new hosting account. Log in to your new host dashboard. Look for an option that says Auto-Installer or WordPress Setup. Click it and follow the steps on screen to create a brand new, empty site.
Make sure you write down your new admin login details. You will need them to log into the blank site. Once the setup finishes, log into your new dashboard. Go straight to the Plugins section and install the exact same migration plugin you used on your old site.
When I moved my own blog to a UK-based host, I forgot to match the plugin versions on both sites. The import failed halfway through. Once I updated the plugin on both ends to match, the transfer worked right away.
Open the plugin menu on your new site and choose Import. Select the file you downloaded to your computer in Step 1. Click proceed when the warning box pops up. The plugin will overwrite the empty site with your real content. Keep your browser open until you see the success message.
Update your domain name settings
Your site files are now on the new host, but your domain name still points to the old host. You must update your Name Server settings where you bought your domain, like GoDaddy or Namecheap.
Log in to your domain account and find your DNS settings. Replace the old Name Server addresses with the new Name Servers given by your new hosting company. These usually look like ns1.newhost.com and ns2.newhost.com.
Changing DNS settings takes time to work across the internet. It can take anywhere from one hour to a full day. During this time, some visitors will see the old site and some will see the new site. Do not cancel your old hosting account yet. Keep it open for at least three days to make sure no visitors run into a broken page.
Once the domain points to your new host, your site will load from the new server automatically. You can check if the move is complete by using a free online DNS lookup tool. (Read our related guide on fixing common domain DNS errors if your site will not load.)
Test your new site thoroughly
Do not skip testing your site after the move. Click through your main pages to make sure all images load correctly. Try out your contact forms by sending a test message to yourself.
Log into your new dashboard and go to Settings, then Permalinks. Click Save Changes without making any edits. This refreshes your link structure and fixes broken page links.
Next, check your site speed. Free tools like GTmetrix or Google PageSpeed Insights let you test how fast your new host loads your pages. UK hosts should give you fast load times for local visitors.
Last, check your SSL certificate. Your web address should start with https and show a small padlock icon in the browser bar. If the padlock is missing, install a free SSL plugin to force secure connections. Once everything works, you can safely close your old hosting account.
Frequently Asked Questions
Find quick answers to common questions about moving your site without paying for extra tools or hiring a developer.
How long does a free site move take?
The actual file move takes about 15 minutes. However, waiting for your domain settings to update across the internet can take between two and 24 hours to finish completely.
Will my site go down during the transfer process?
No, your site will stay online. Because you keep your old host active while uploading files to the new host, your visitors will not see any downtime or error screens.
Do I lose my Google rankings if I switch web hosts?
You will not lose rankings if you keep the same domain name and page links. Moving to a faster local host in the UK can actually help your site rank better.
Conclusion
Moving your WordPress site to a new host does not have to cost money or cause headaches. By using a trusted free plugin, setting up your new site properly, and updating your domain settings, you keep full control over your content. You protect your traffic and avoid costly developer fees.
My final expert tip is to always keep a full backup file on your personal computer, even after the move is complete. Storing a offline copy of your site guards you against server crashes or accidents down the road.
Now it is time to take action. Pick a quiet hour today, install a free migration plugin on your site, and download your first export file. Taking that single step gets your site ready for a faster, better host right away.