
Do you run a UK online shop using WordPress? Many shop owners have a big problem. The standard checkout page is too simple. You want to ask customers special questions. You need to know more to ship items or wrap gifts. But you do not want to ask everyone the same thing. Asking too many questions makes people leave without buying. It is frustrating! You need a way to show certain questions only to some customers.
This guide will fix that problem for you. It explains how to add custom questions that appear only when they are needed. By following these steps, you will learn to change your checkout page yourself. You do not need to be a top coder. When your checkout is smart, customers have a better time. They are more likely to finish buying. This can help your UK shop make more money. Let’s get started and make your checkout work better for your specific needs.
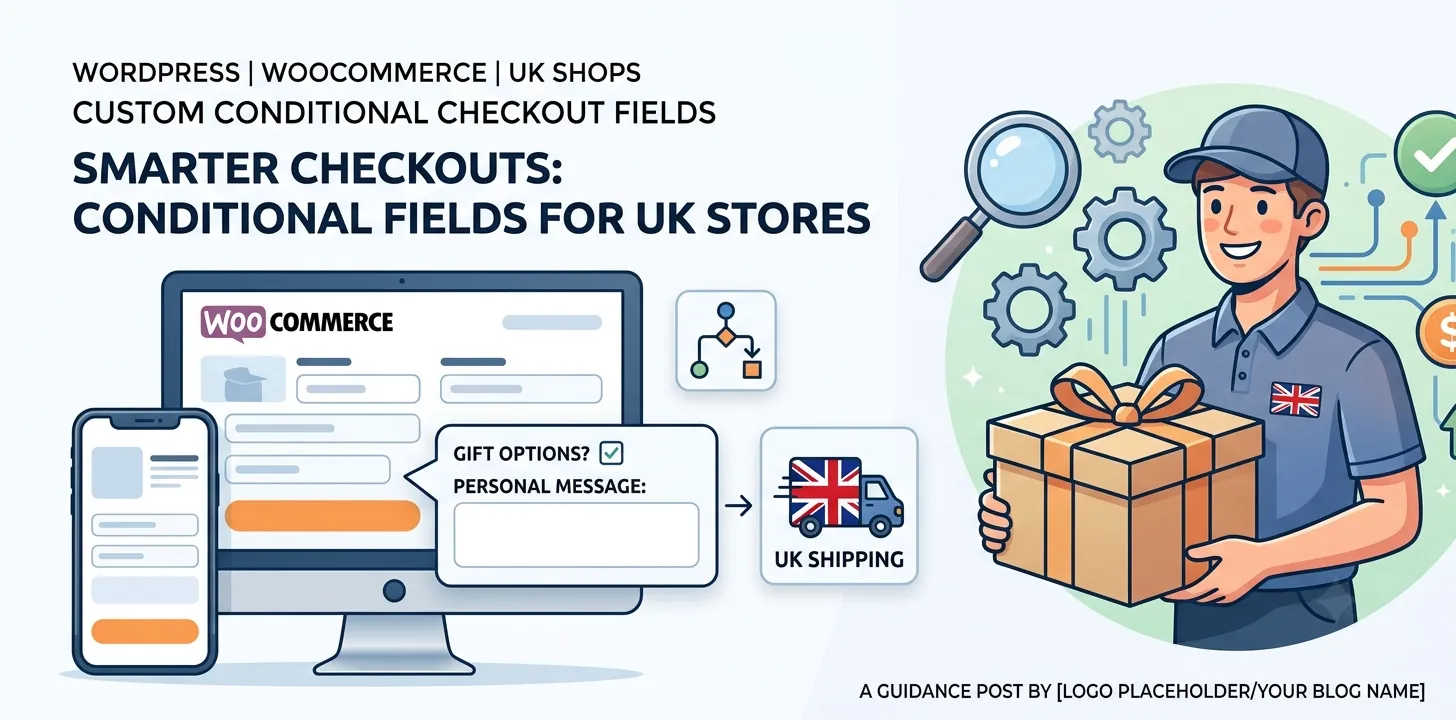
How to Add Custom Checkout Fields in WooCommerce Conditionally
Make your shop smarter. Add custom questions to the checkout page that only appear when specific rules are met. It helps your sales.
Using code in your child theme
I know writing code can sound scary. But for many shop owners in the UK, using code is a great way to save money on paid plugins. It gives you complete control. To add a custom field conditionally, you must use your functions.php file. Always, always do this in a “child theme.” If you change your main theme, your work will vanish when you update. A child theme keeps your changes safe. You can create a simple child theme using a free plugin.
Once your child theme is set up, you use actions and filters. An action tells WooCommerce where to show your new field. For example, you can show it after the billing details or before the order notes. Filters are different. A filter lets you change something that already exists or is about to happen. To add conditional logic, you first register your new field with an action. This tells WooCommerce to create it. Then, you use a filter like woocommerce_checkout_fields. Inside that function, you write your rule. You might say, “If a physical product is in the cart, do not show the ‘message for gift card’ box.” (Because digital products don’t need gift cards!). You will need to know the correct hooks. This method is free, but it takes time to get the code right and test it. It’s fantastic for small, simple conditional rules.
How to write a rule based on shipping class
This is one of the best ways for a UK business to use conditional logic. Shipping classes are a great tool in WooCommerce. They let you group products that are shipped in a certain way. You might have a “Large Item” class for furniture or a “Special Handling” class for fragile items. Let’s say you sell a very big item that needs a specific day for delivery. You cannot ship it with a normal courier. You need a special van. You only want to ask the customer for their preferred delivery day if they are buying one of these large items. If they are just buying a book, you don’t need to ask that question.
Here is how you set that up. First, create your special shipping class and put your large products in it. Then, in your code or plugin, you write a rule. The logic should be: “If any item in the basket is in the ‘Large Item’ shipping class, then show the ‘Preferred Delivery Date’ field.” It is that simple! A few months ago, I helped a small business in Kent that sold bespoke garden benches. They were using two different carriers and were manually calling every single customer to book a delivery date for the big benches. By setting up this one conditional rule in their checkout, they stopped making calls. The customers just picked a date right there. The shop saved hours of time every week, and customers loved how easy it was.
Using a plugin for custom conditional fields
I am an SEO expert, not a full-time developer. I know my limits. If I need a complex rule or a lot of custom fields, I do not waste time writing code. It is too easy to make a mistake, and then your checkout breaks! If your checkout is broken, you make zero money. For anything other than a very simple rule, I recommend using a dedicated WooCommerce plugin. This is the fastest and safest way. There are great options, and some are very affordable. They give you a visual interface. It is like using a form builder. You create your fields with “drag-and-drop” and then set the conditional rules with simple “if…then…” dropdown menus. It is very straightforward.
Most of these plugins let you set rules based on almost anything. You can show a field if the customer is from a certain country (like just for the UK), if they are logged in or a guest, if they have certain products, or even based on the cart total. For example, if someone spends over £100, you could show a box for a free gift message. The other major benefit is compatibility. A well-built, popular plugin is updated all the time. It is tested to work with the newest version of WooCommerce and many other common plugins and themes. You do not have to worry about an update breaking your checkout code. In my view, the cost of a good plugin is more than worth it for the peace of mind. It saves you frustration and protects your shop’s income. (link to related guide: Top recommended WooCommerce custom checkout field plugins).
Frequently Asked Questions
What people ask on Google about WooCommerce custom checkout fields. Here are the answers to help you.
Can I do this without code? Yes. You must use a plugin to do this without writing any code yourself. Good plugins have easy drag-and-drop tools.
Are custom checkout fields mobile friendly? Yes. Modern conditional plugins and well-coded manual fields will work great on mobile phones and tablets. It is very important that they do.
Will this slow down my website? If you use good code or a top-rated plugin, it will not slow it down much. Be careful with too many complex rules.
Conclusion
Making your WooCommerce checkout better is a great idea. It lets you ask the right questions at the right time. Customers will find it easier to buy from you. You can add these special fields by writing code in your child theme. This is free but takes time. Or you can use a plugin. This is safer and faster and gives you more choices. Both methods work well. Choose the one that feels right for you and your business.
Remember to always test your checkout page. Place a real order yourself. Make sure your rules are working. Check that everything looks good on a mobile phone, too. Here is a final expert tip for you: never make a conditional field “required” unless it absolutely must be. It frustrates customers. Your next step is to choose one simple conditional rule you want for your shop. Get a plugin or try the child theme method and add that one field today.